Quizix
Version 2020
- Created: 01/10/2018
- By: Arif Khan
- latest Update: 02/18/2020
- By: iGlyphic
- Email: thecoder34@gmail.com
- For Bug, Pre-sale Questions, Feedback & Suggestion send Email: thecoder34@gmail.com with Subject "Codecanyon QuizixV2020"
What's new on V2020
- Updated with new Android 10
- Secoandary layout added for Splash Screen, Home Screen, Categories Listing & Sub-categories Listing
- Brand New Result Screen
- Leaderboard Screen Minor Updated
- Updated with latest 3rd party libraies
- Various Animation Added
- Various Bug Fixes
- Android 4(Kitkat) Support Removed
- Google Analytics Support Removed
- IAP Support Removed for now(Will add on next Update)
- Fabric Crashlytics Removed since that is deprecated now(Upon Firebase Crashlytics Stable Relase will re-add it)
Screenshots
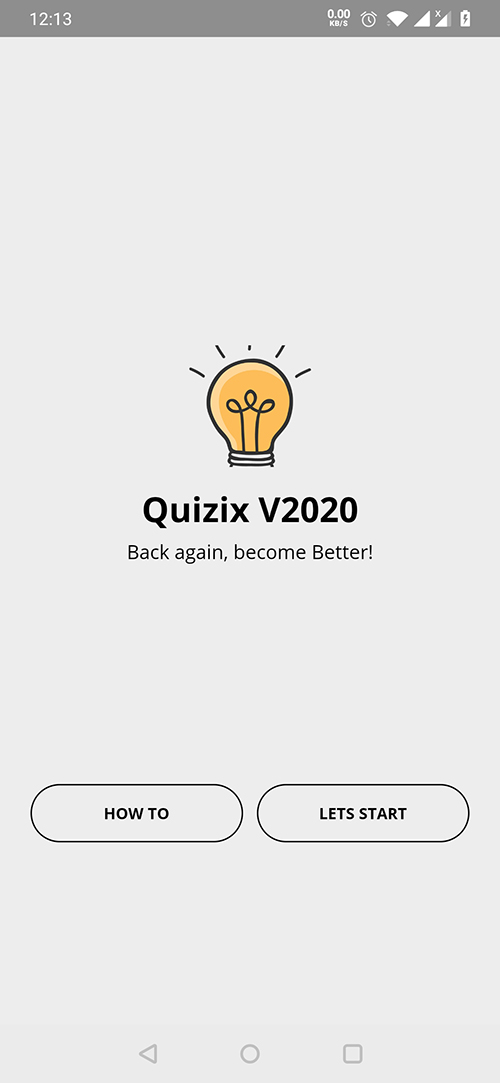

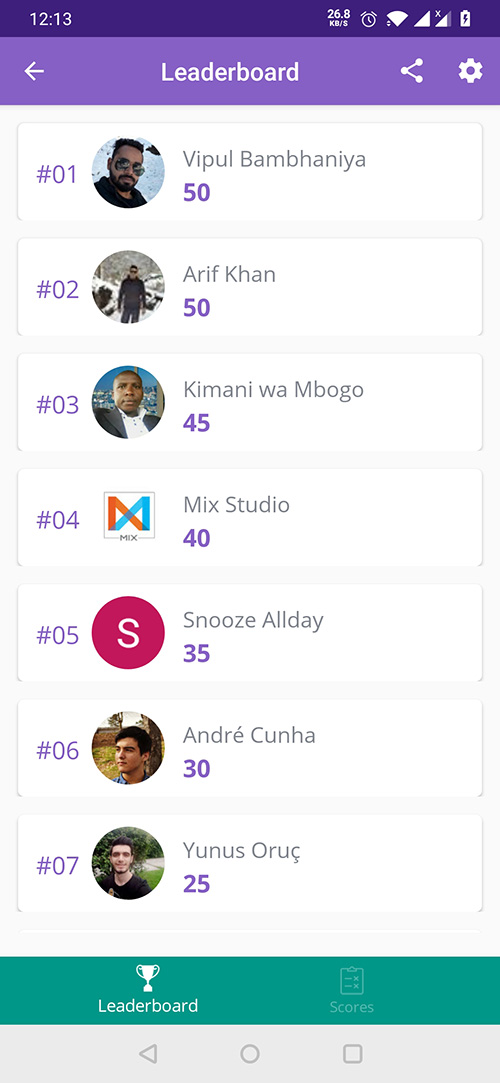


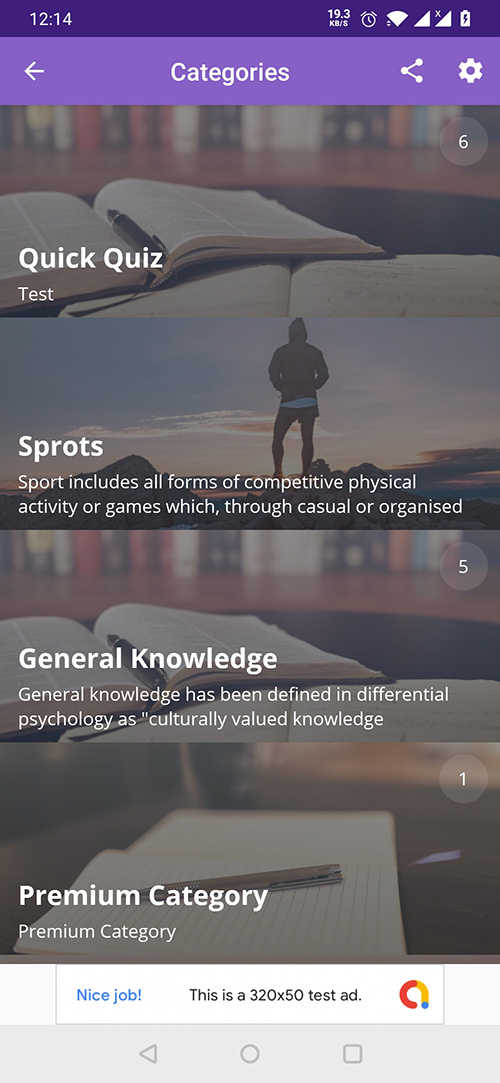
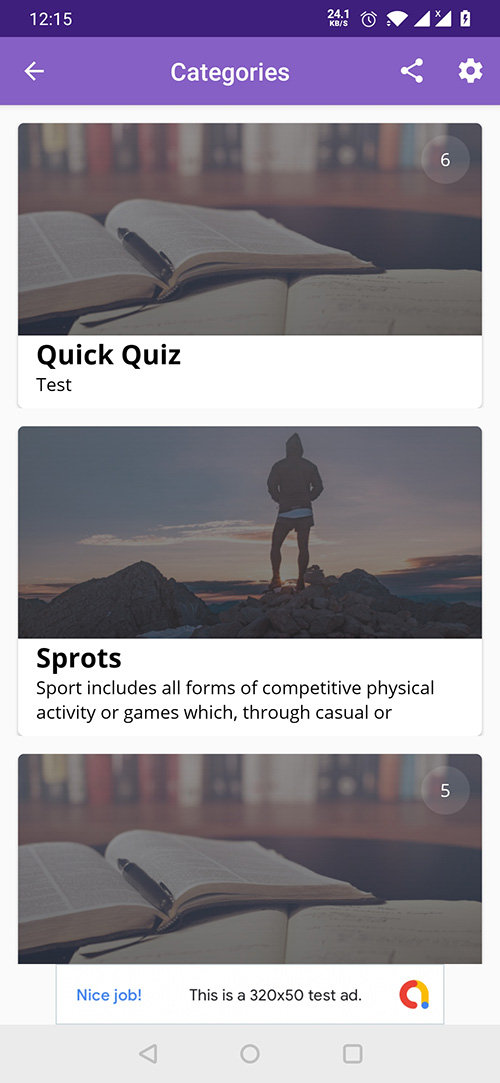
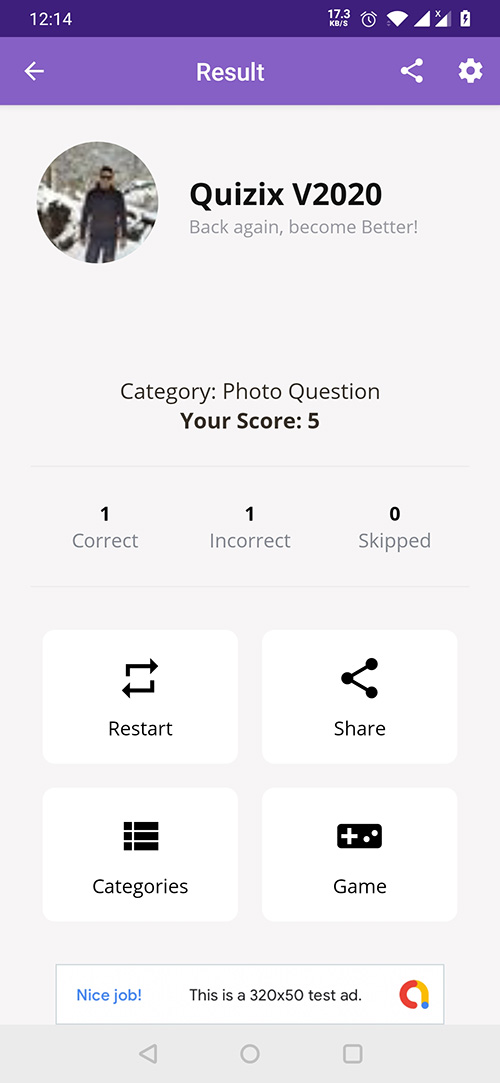

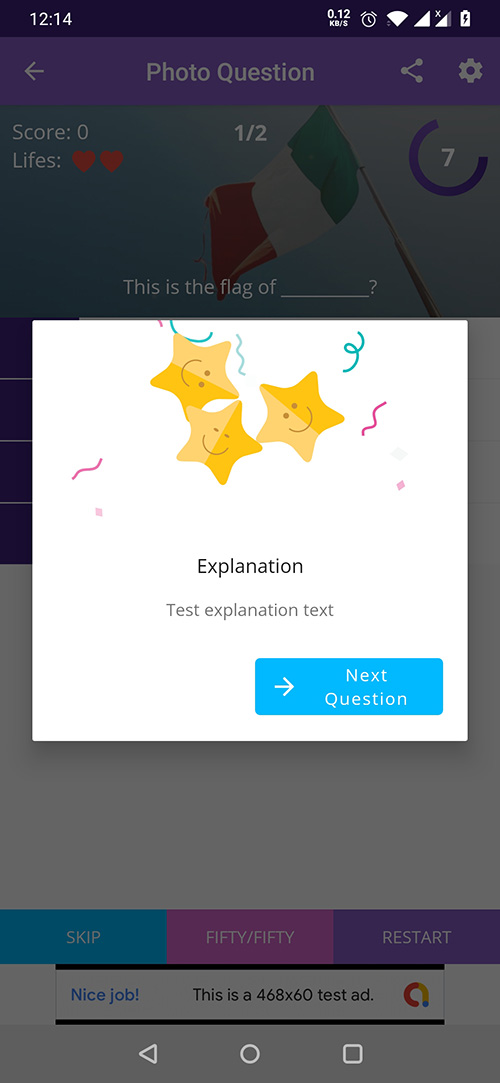
Quizix Application
Firstly, a huge thanks for purchasing this Quizix, your support is truly appreciated!
Create your Custom Quiz App. its Too simple, just add your questions from backend and publish, that’s it. Quizix is an android quiz app with single question with four answer options. Now you can build your own quiz app by just adding questions and all remaining tasks will be done by app.
Quizix Features
- Laravel Admin Panel
- Admob Banners, Interstitials & Reward Video
- In App Purchase(Unlock premium Categories/Subcategories & Remove Ads)
- Firebase Push Notification
- Firebase Crash Reporting
- Firebase Auth(Facebook & Google)
- Firebase Firestore Realtime Database(Leaderboard Data)
- Add/Edit Tutorial
- Data Caching for Offline
- Full RTL Support
- Google Analytics
- Supports Tablets & Mobiles
- Random Questions/Answers
- Quick Quiz Round
- Premium Categories/Sub-categories
- Category/Sub-category Wise Questions
- Photo/Text/Math Question with 2/3/4/5 Answer Choice
- Unlimited Categories & Questions
- Backend Push Notification Panel
- Splash Screen, App Intro Slide, Material Dialog
- Question Timer, Sound, Vibration
- 50-50, Skip Question, Negative Point, Answer Explanation Dialog
- Share App/Score on Facebook/by Message, Email etc
- Lifeline
- Internet Only Mode
- Enable/Disable ads per Activity
- Press Back again to Exit
- Enable/Disable Splash Screen after first run
- Bulk Upload(Questions)
- Multiple Layout Option
How to Setup(Videos)
Setup Backend
Setup Firebase
Upgrade Database without losing Data
How to setup(Android APP)
Here I am adding one by one how to setup.
- 1) Import/open project by Android Studio
- 2) To change applicationId/Package name follow this video- https://www.youtube.com/watch?v=EEDRt2X-Q90. If you're facing difficulty on changing package name follow this- https://stackoverflow.com/questions/48713006/error-in-renaming-package-cannot-create-file-com-file-already-exist
- 3) Open drawable, drawable-hdpi, drawable-xxhdpi directory and change app icon or simply go File >> New >> Image Asset & follow the instruction
- 4) Open string.xml and change 'ads_app_id', 'ads_banner_id', 'ads_interstitial_id' and 'ads_reward_id' by your own Ad id. If you don't want to enable fullscreen/interstitial ad then put empty string on 'ads_interstitial_id' & same for Banner. Also, if you want to disable AdMob then simply open Config.java file from Utils Package & make "SHOW_ADS" value to false.
- 5) Change Facebook App id- 'facebook_app_id' and login protocal scheme- 'fb_login_protocol_scheme' from string.xml & also from Manifest file change "533234030710333" with your app id. Check the code sample located below.
- 6) Change Play Developer Key- 'google_play_key' & Play In App Purchase ID- 'play_iap_id' for In App Purchase.
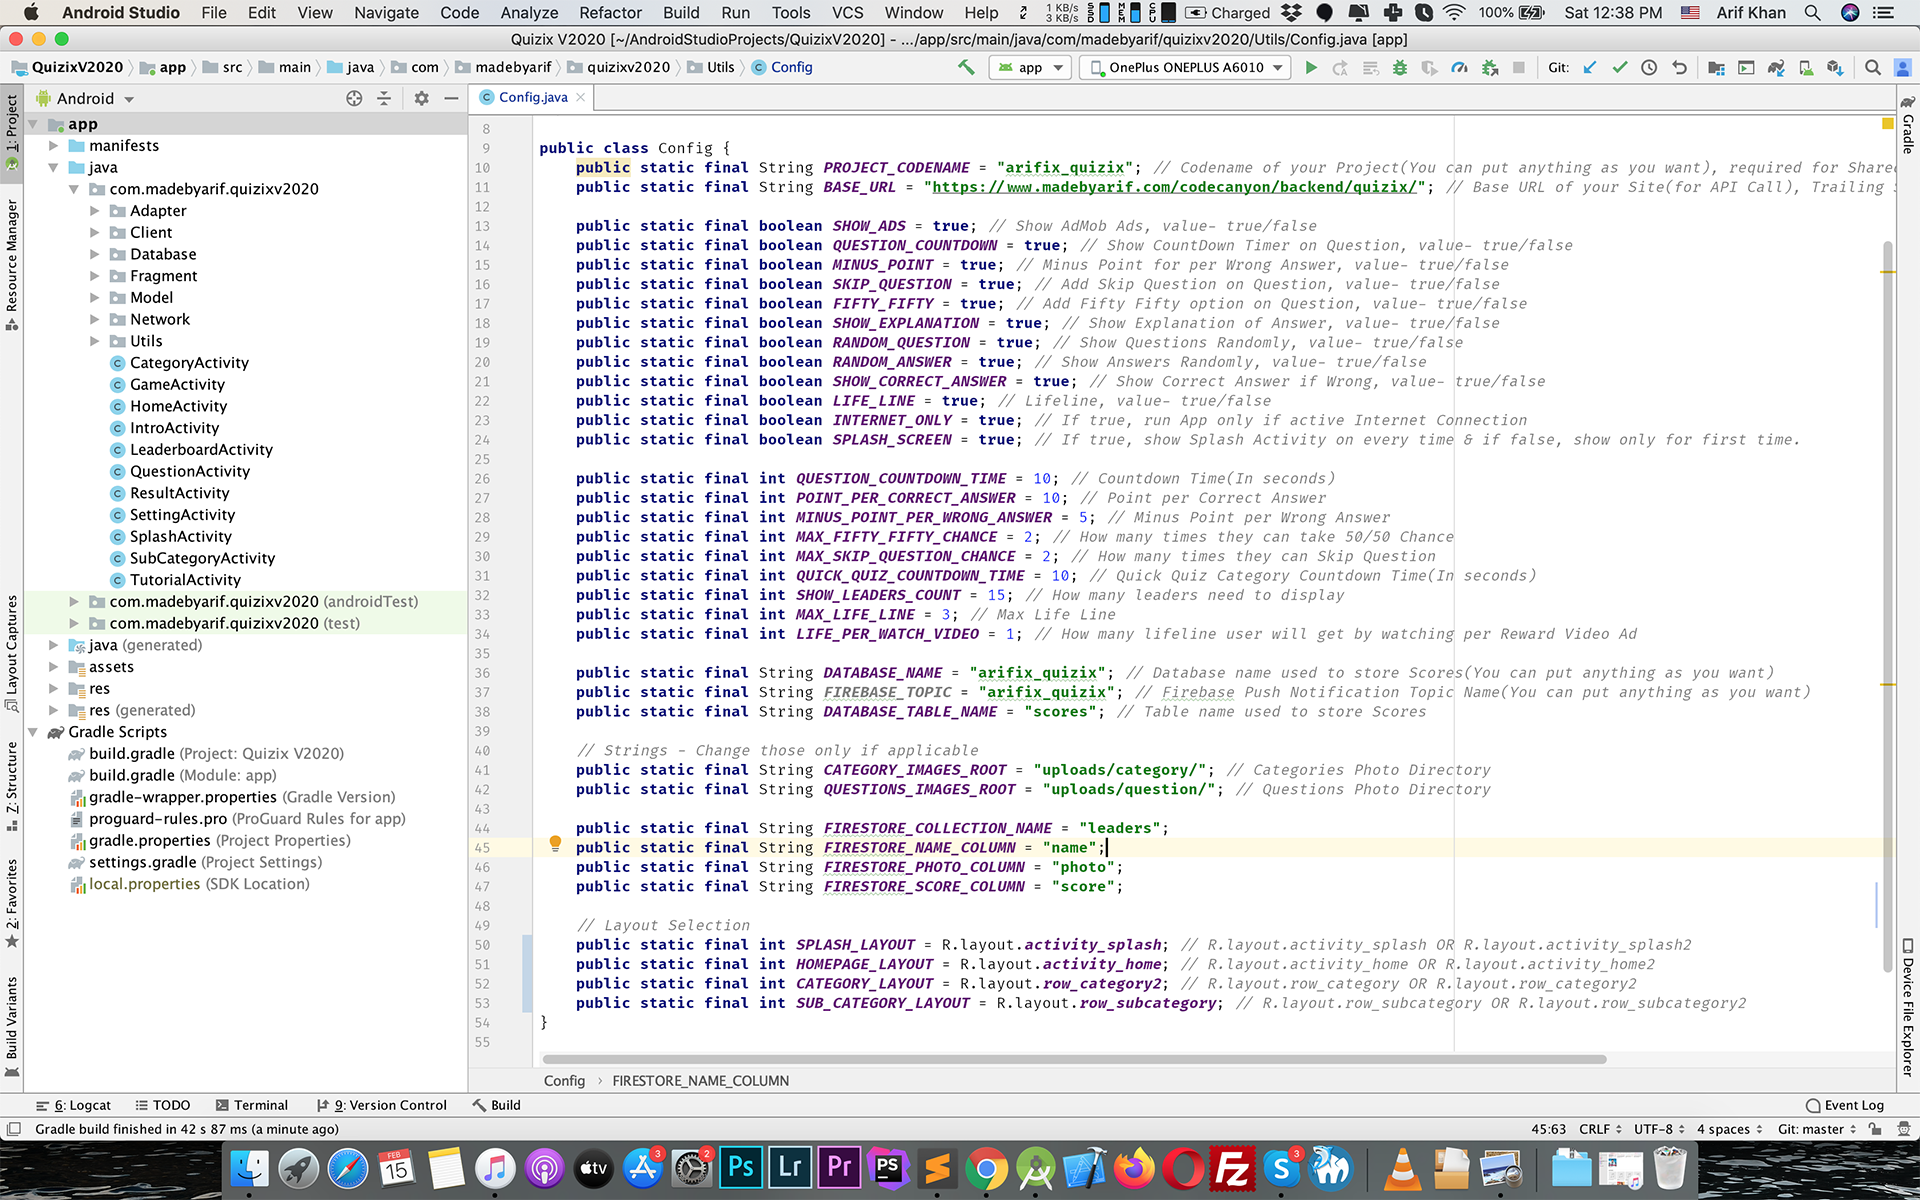
- 7) Change BASE_URL with your laravel installation URL(Trailing Slash is important, don't remove that, like http://www.example.com/ not http://www.example.com). Beside that you can change all the game related settings from Config.java file
- PROJECT_CODENAME - Codename of your Project(You can put anything as you want), that name uses by Shared Preference to Save Data
- BASE_URL - URL of your Laravel Backend(Trailing Slash is important, don't remove that)
- SHOW_ADS - Enable/Disable AdMob(true or false)
- QUESTION_COUNTDOWN - Enable/Disable Countdown Timer(true or false)
- MINUS_POINT - Enable/Disable Minus Poin on per Wrong Answer(true or false)
- SKIP_QUESTION - Enable/Disable Skip Question(true or false)
- FIFTY_FIFTY - Enable/Disable Fifty Fifty Answer(true or false)
- SHOW_EXPLANATION - Enable/Disable Answer Explanation Dialog(true or false)
- RANDOM_QUESTION- Show Questions Randomly(true or false)
- RANDOM_ANSWER- Show Answers Randomly(true or false)
- SHOW_CORRECT_ANSWER- Show Correct Answer if Wrong, value- true/false
- LIFE_LINE- Lifeline, value- true/false
- INTERNET_ONLY- If true, run App only if active Internet Connection
- SPLASH_SCREEN- If true, show Splash Activity on every time & if false, show only for first time.
- QUESTION_COUNTDOWN_TIME - Countdown Time as Per Question(In seconds)
- POINT_PER_CORRECT_ANSWER - Point per Correct Answer(10 means 10 per correct answer)/li>
- MINUS_POINT_PER_WRONG_ANSWER - Minus Point per Wrong Answer(5 means -5 per wrong answer)
- MAX_FIFTY_FIFTY_CHANCE - How many times user can take 50/50 Chance(2 means 2 times/questions)
- MAX_SKIP_QUESTION_CHANCE - How many times they can Skip Question(2 means 2 times/questions)
- QUICK_QUIZ_COUNTDOWN_TIME - Countdown Time for Quick Quiz Round(In seconds)
- SHOW_LEADERS_COUNT- How many leaders need to display
- MAX_LIFE_LINE - Max Life Line
- LIFE_PER_WATCH_VIDEO - How many lifeline user will get by watching per Reward Video Ad
- DATABASE_NAME // Database name used to store Scores
- DATABASE_TABLE_NAME - Table name used to store Scores
- FIREBASE_TOPIC - Firebase Push Notification Topic Name
- Strings- Strings used by project(Change those only if applicable).
- SPLASH_LAYOUT- Layout for Splash Screen, R.layout.activity_splash OR R.layout.activity_splash2
- HOMEPAGE_LAYOUT- Layout for Home Screen, R.layout.activity_home OR R.layout.activity_home2
- CATEGORY_LAYOUT- Layout for Category Screen, R.layout.row_category OR R.layout.row_category2
- SUB_CATEGORY_LAYOUT- Layout for Sub-category Screen, R.layout.row_subcategory OR R.layout.row_subcategory2
- 8) Add your firebase setting json file on app/google-services.json by replacing current one. If you don't have any, change package name from app/google-services.json file with yours.
- 9) Build, test, create signed apk and publish:
                        <provider
                            android:name="com.facebook.FacebookContentProvider"
                            android:authorities="com.facebook.app.FacebookContentProvider533234030710333"
                            android:exported="true" />
Screen Config.java
How to setup(Laravel Backend)
- 1) Screenshot(Step 1): Login to your Cpanel/VPS/Hosting Panel, Create MySQL Database, Create New User & Add/Grant user to the Database. You can follow this tutorial- https://www.youtube.com/watch?v=qSdbNoW2f-c
- 2) Screenshot(Step 2): Go to PHPMyAdmin, select your newly created Database, go to import & import "Quizix_Database.sql".
- 3) Now from the File Manager of your hosting go to the corresponding directory where you want to install Laravel Backend. You can use domain root, directory & sub-domain too.
- 4) Use file from Quizix_Backend_files.zip.
- 5) Upload zip, extract zip file on the corresponding directory(maybe some .htaccess configuration changing needed, depends on your hosting environment).
- 6) Screenshot(Step 3): Edit .env file from Laravel Root
- APP_NAME: Your Backend App name
- APP_URL: Root URL of your Backend App
- DB_HOST: Host of your Database(Usually 127.0.0.1 or localhost)
- DB_PORT: Port of your Database(Usually 3306)
- DB_DATABASE: Database Name
- DB_USERNAME: Username of your Database User
- DB_PASSWORD: Password of your Database User
- MATH_QUESTION: Value(yes or no), put 'yes' if want to need math question support otherwise put 'no'.
- FIREBASE_API_SERVER_KEY: Server key of your Firebase Project(You can find it from- Firebase >> Project Settings >> Cloud Messaging )
- FIREBASE_TOPIC - Firebase Push Notification Topic Name(same as App, found at Config.java on App)
- 6) Screenshot(Step 4): If everything is ok then you will see something like this!
Step 1

Step 2

Step 3

Step 4

How to use(Laravel Backend)
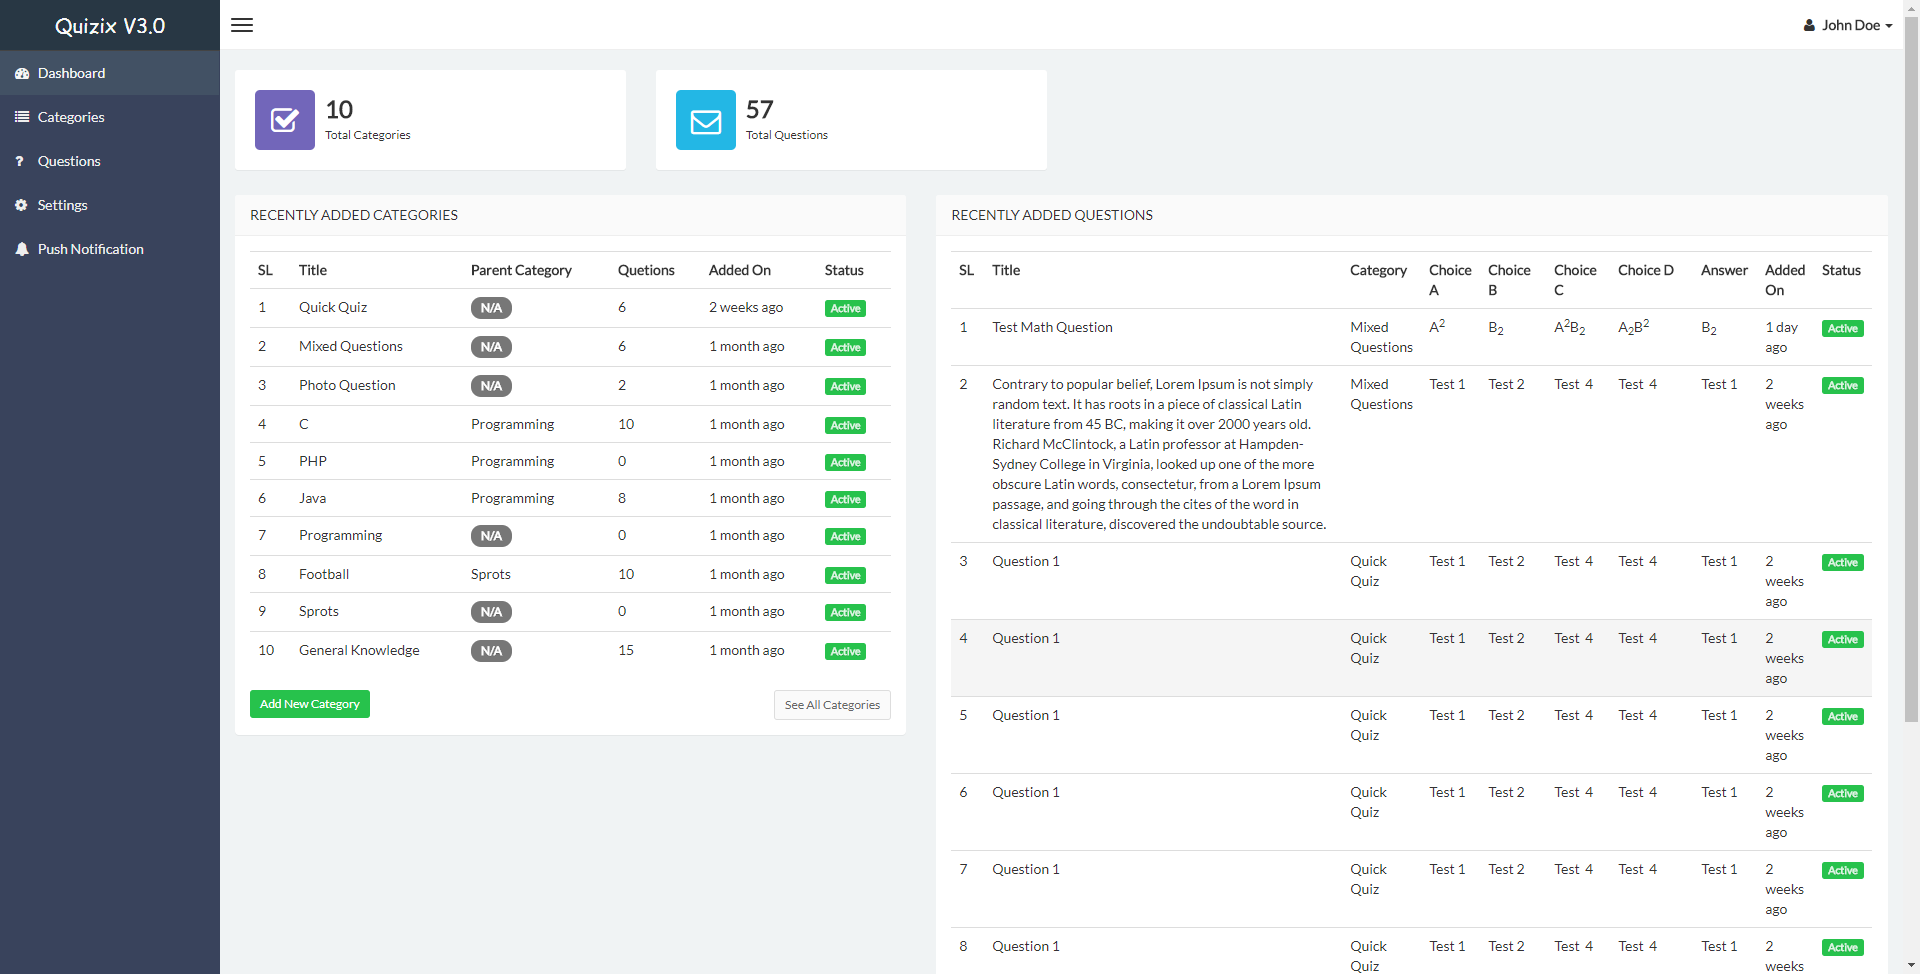
Login with pre-defined access first.
- Email: user@test.com
- Password- 12348765
- 1) Screenshot(Step 1): Laravel Admin.
- 2) Screenshot(Step 2): Go to Profile & update database with your Name, Email & Password. You can add new user from that page too.
- 3) Screenshot(Step 3): Add new Category, you can add Sub-category by selecting parent category from "Child Category Of" dropdown(currently only one level of parent-child level suport added).
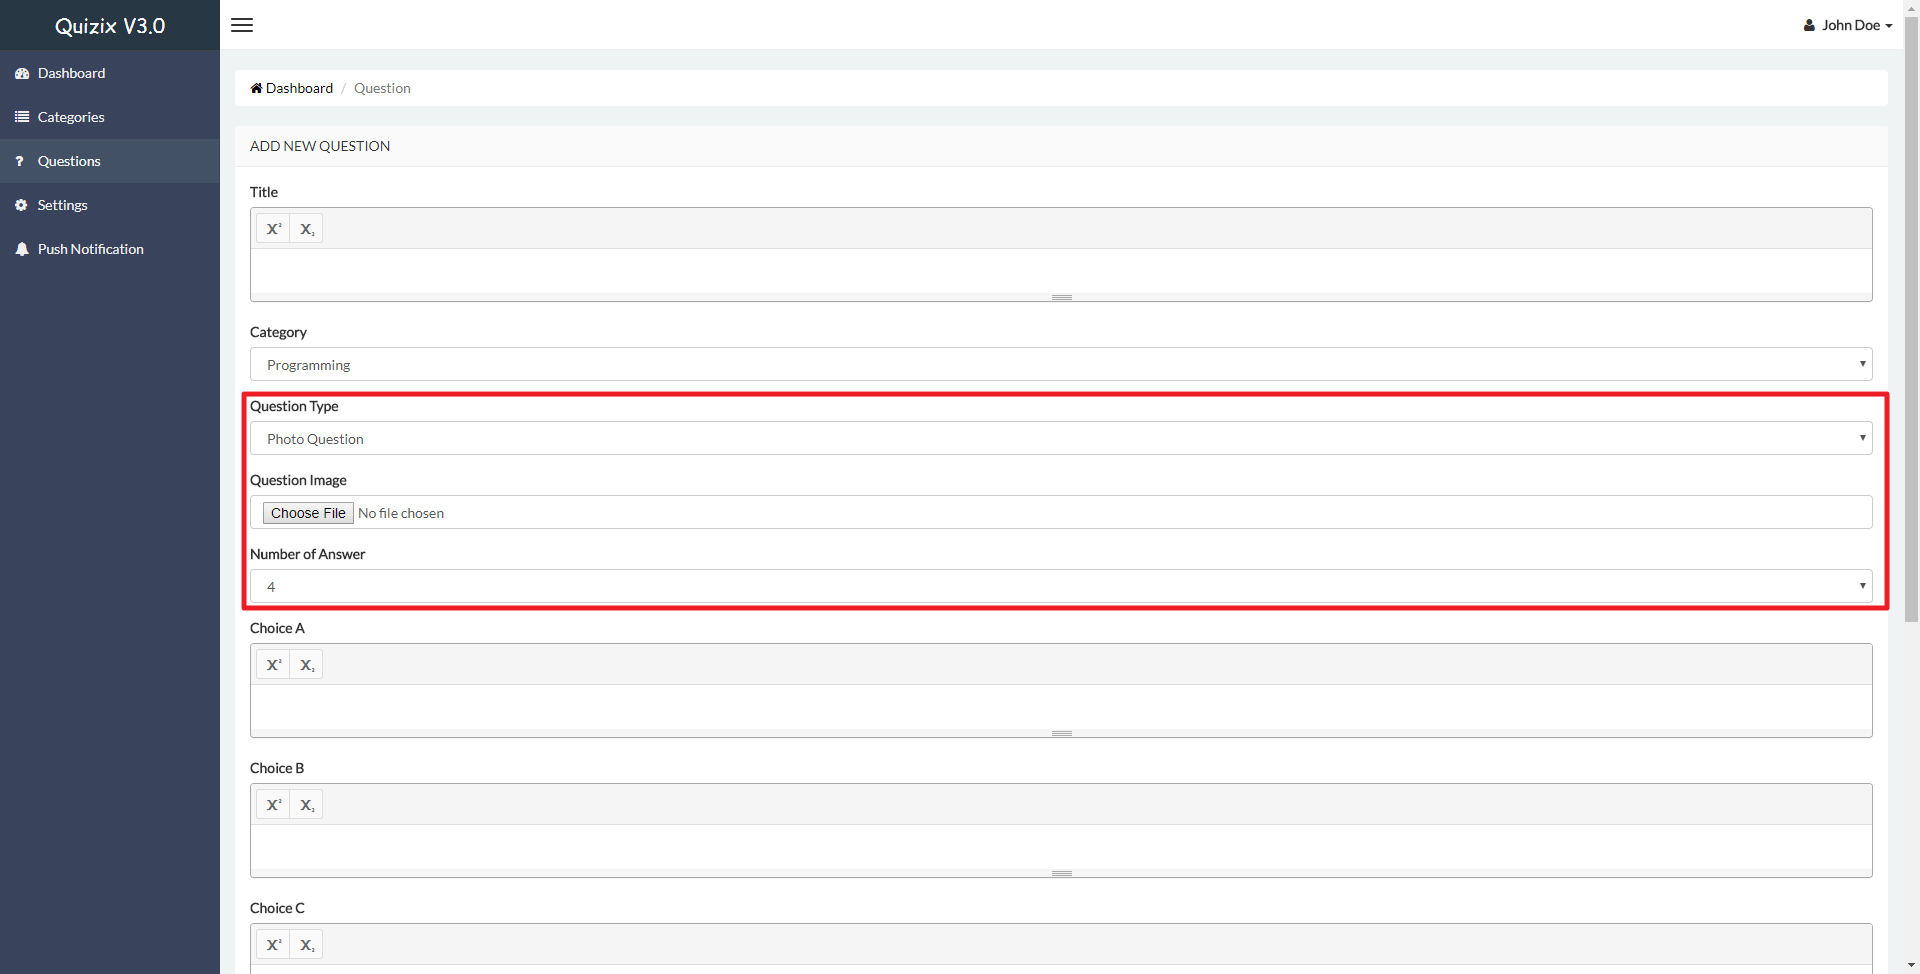
- 4) Screenshot(Step 4): Add new Question, you can choose Text or Photo question. Also you can select answer count with 2/3/4/5(How many choice will show for that question).
- 5) Screenshot(Step 5): You can add photo question, select choice option count, also able to add Answer Explanation.
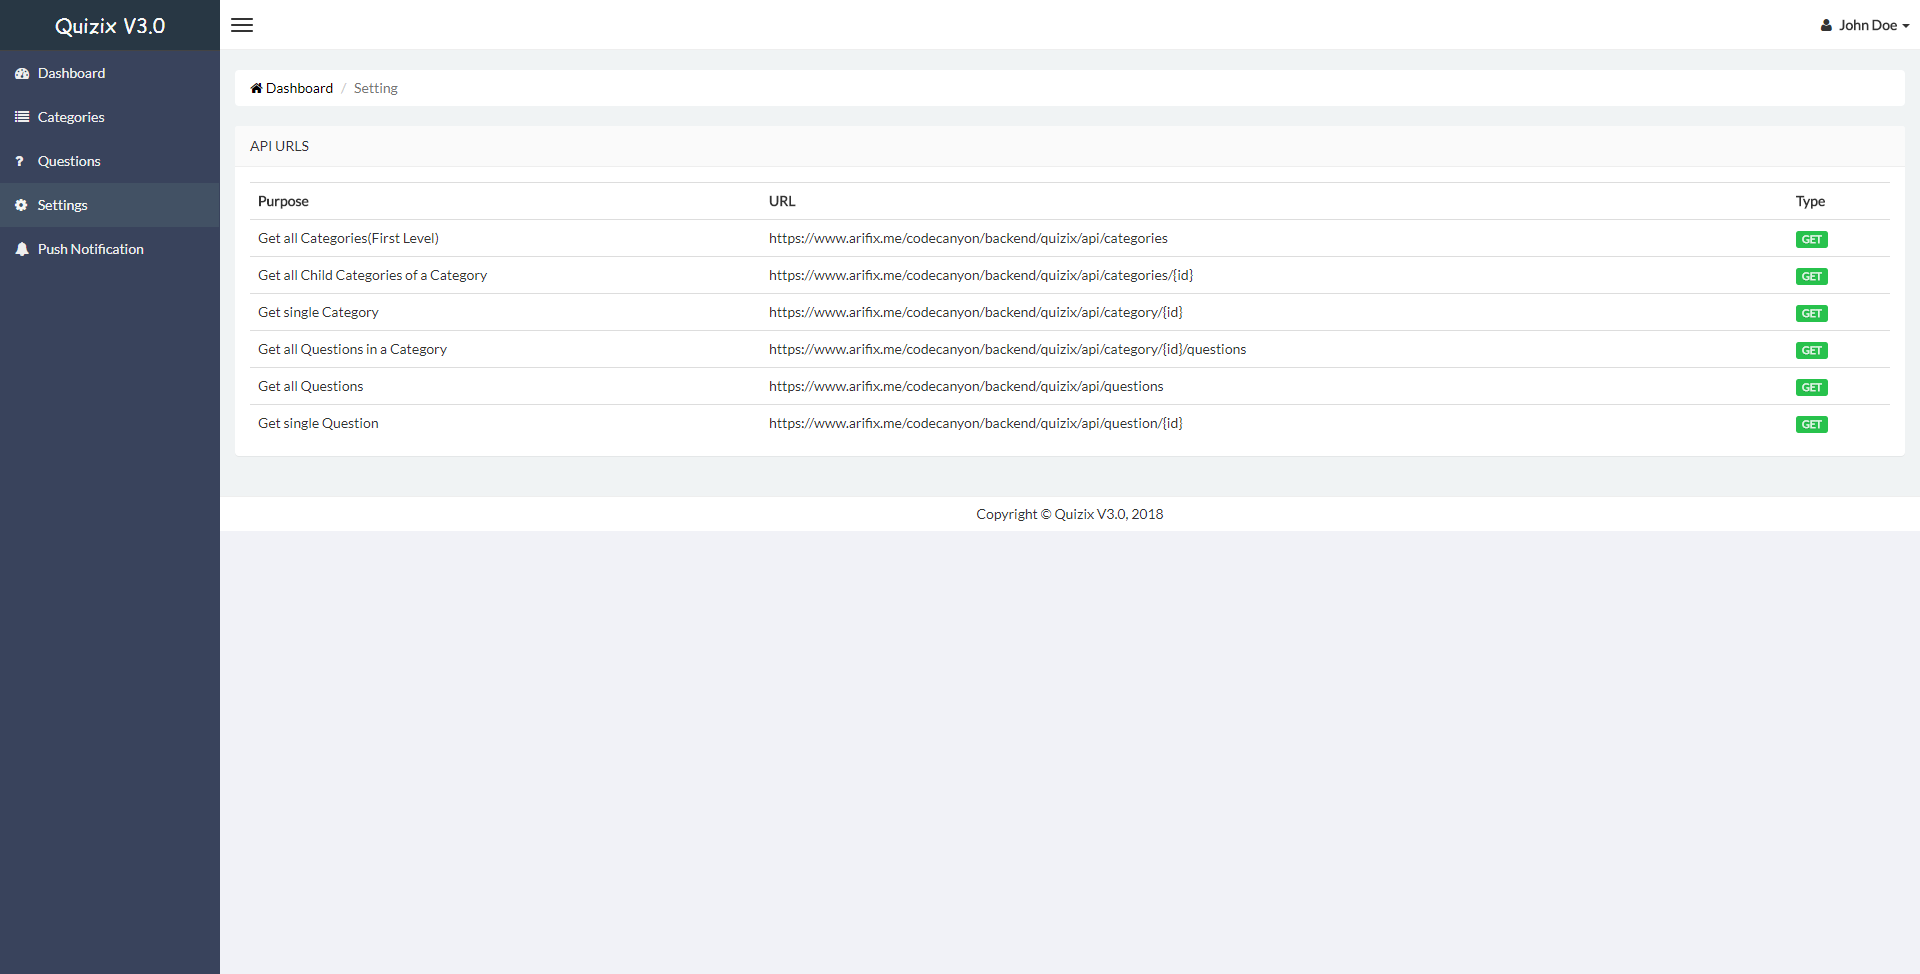
- 6) Screenshot(Step 6): On the Setting page API endpoint are listed.
- 7) Screenshot(Step 7): From this page you can send Push Notification.
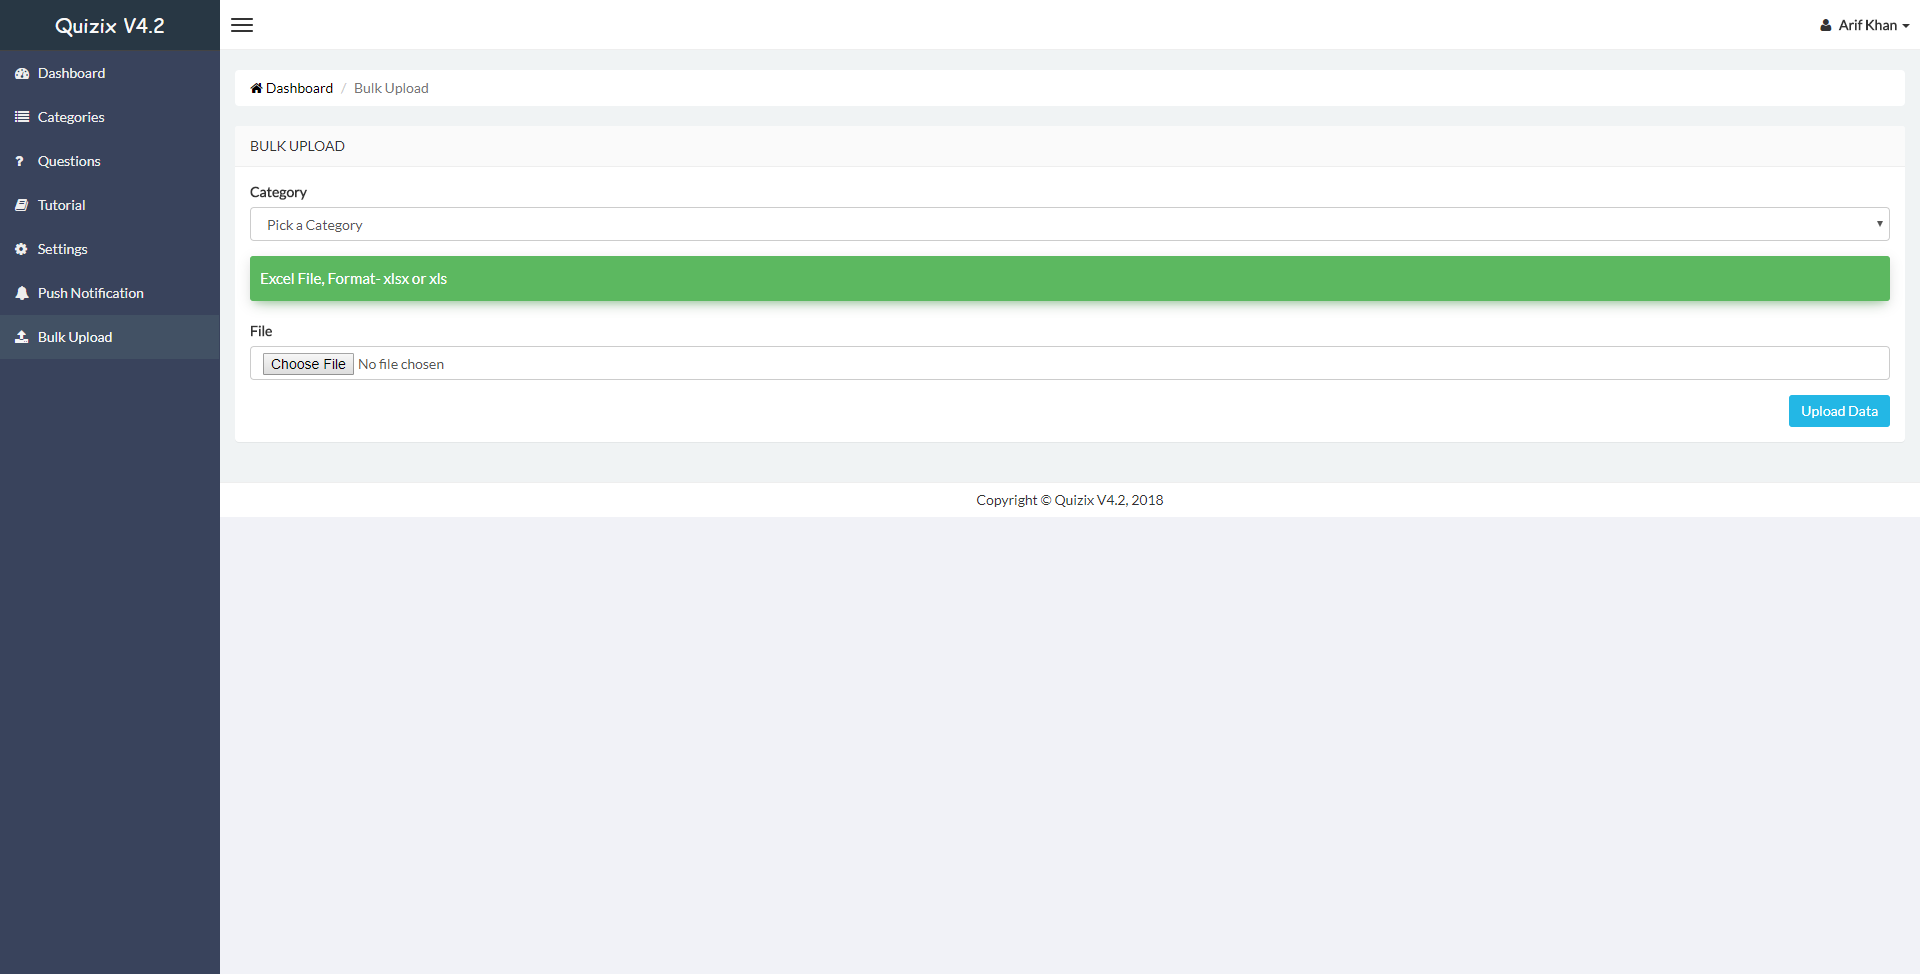
- 8) Screenshot(Step 8): From this page you can Bulk Upload(Questions)
Please add your data on Bulk_Data.xlsx(located on project files) & upload it
Step 1
Step 2

Step 3

Step 4

Step 5
Step 6
Step 7

Step 8
How to setup(Firebase Push Notification & Crash Reporting)
- 1) Go to- https://console.firebase.google.com/
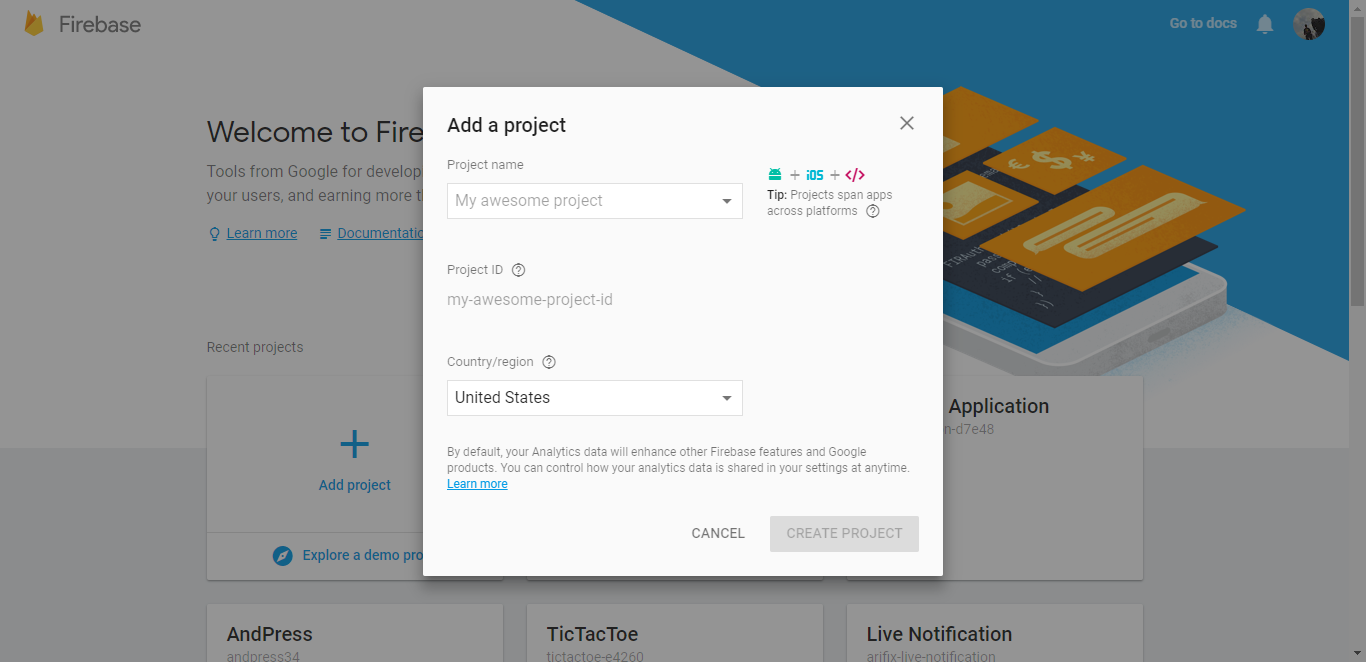
- 2) Screenshot(Step 1): Add Project, Enter Project Name, Select Country & Create the Project
- 3) Screenshot(Step 2): Select "Add Firebase to your Android App"
- 4) Screenshot(Step 3): Enter your package name & Register App
- 5) Screenshot(Step 4 & Step 5): Download google-services.json & replace it with current one located at(App Root/app directory)
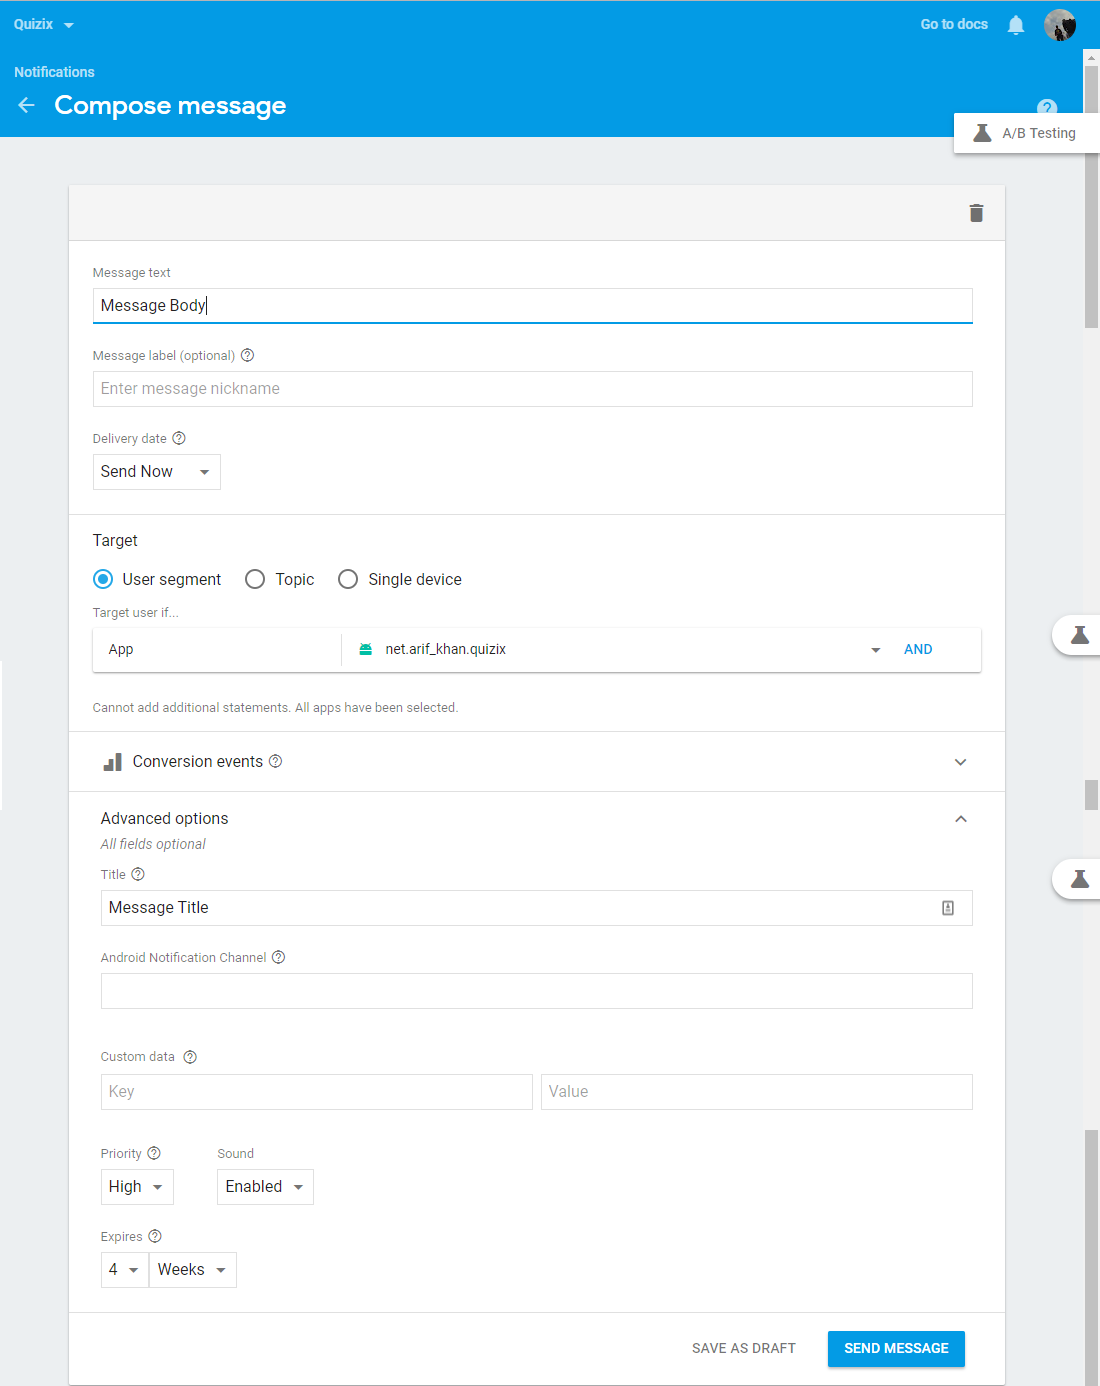
- 6) Screenshot(Step 6): To send Push Notification, simply go- https://console.firebase.google.com/ then go to "Notification" menu located under "Grow" panel & go to "New Message".
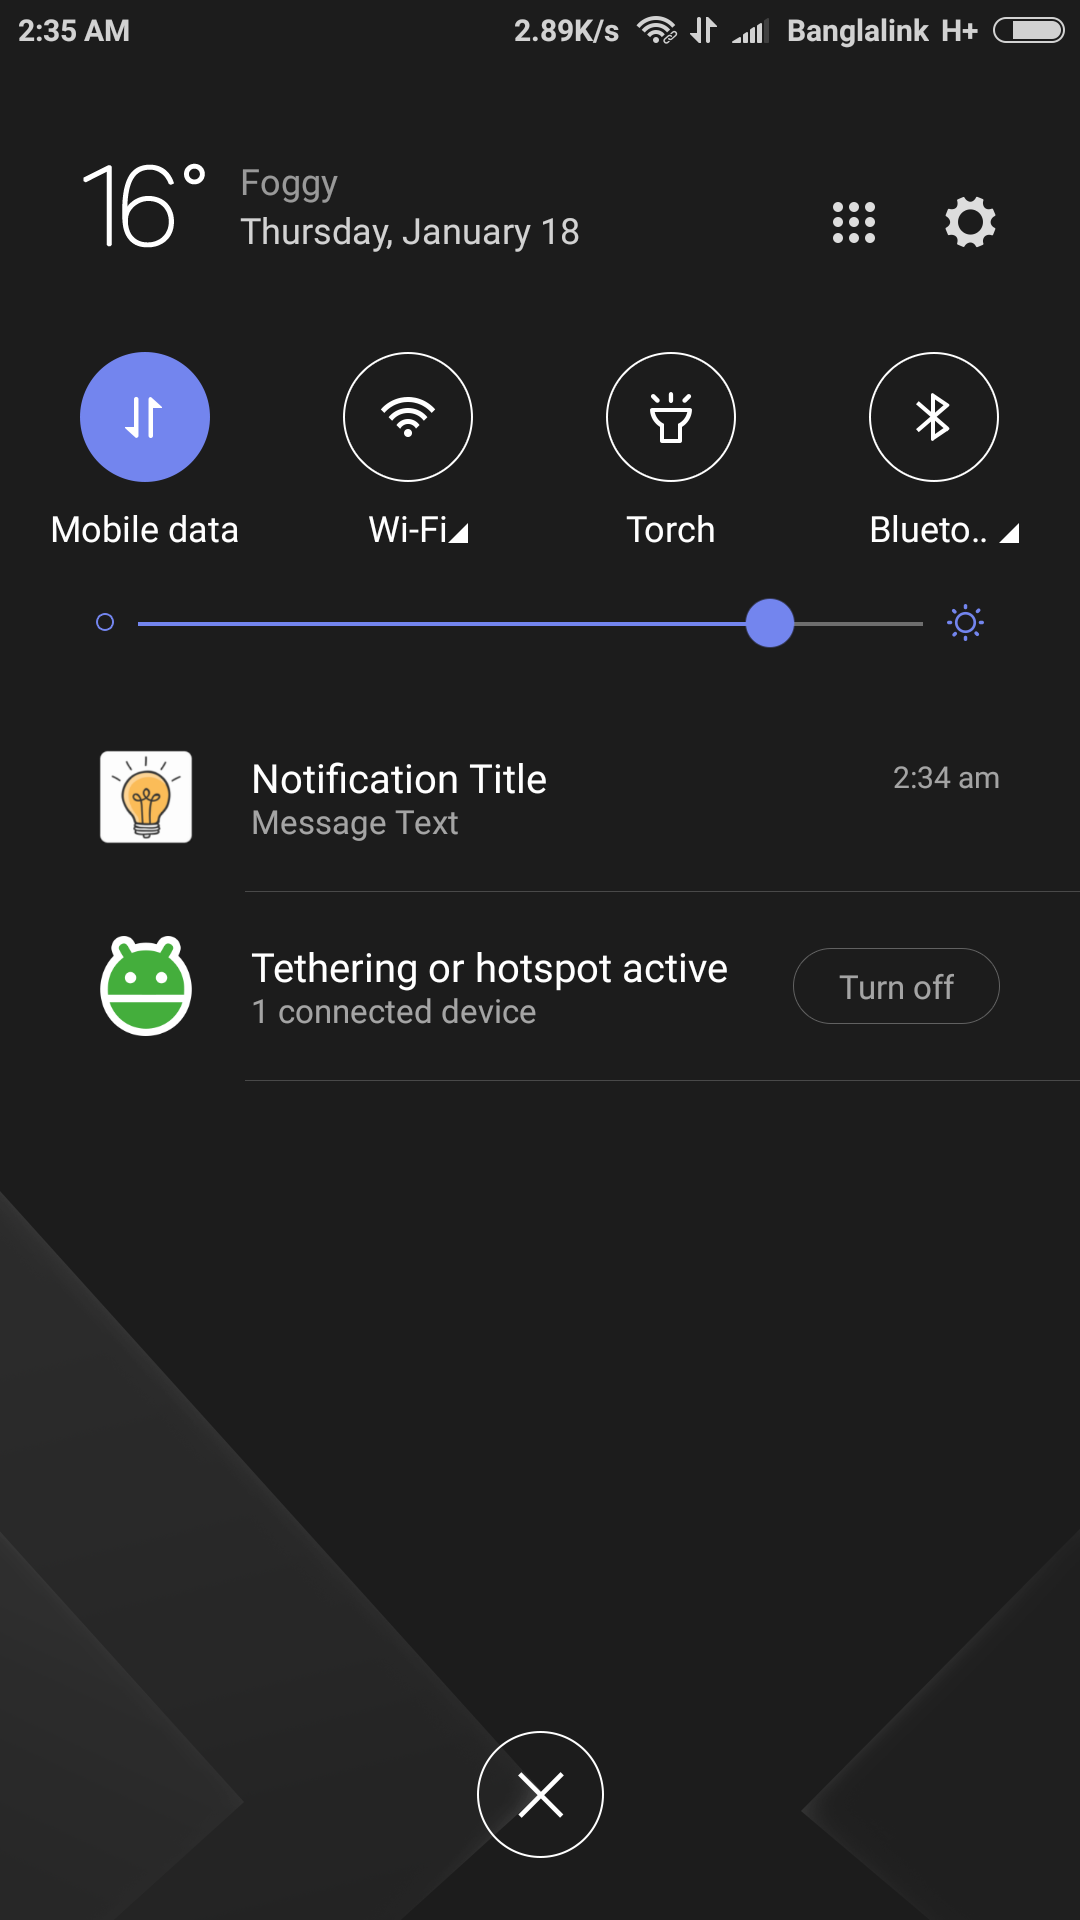
- 7) Screenshot(Step 7): Input "Message text", select your App, from Advanced options input "Title" & select "Enabled" of "Sound" downdown for sound & click on "Send Message". Voila!.
- 8) Screenshot(Step 8): You can check all the Issues/Users impacted from Firebase Crashlytics.
Step 1
Step 2
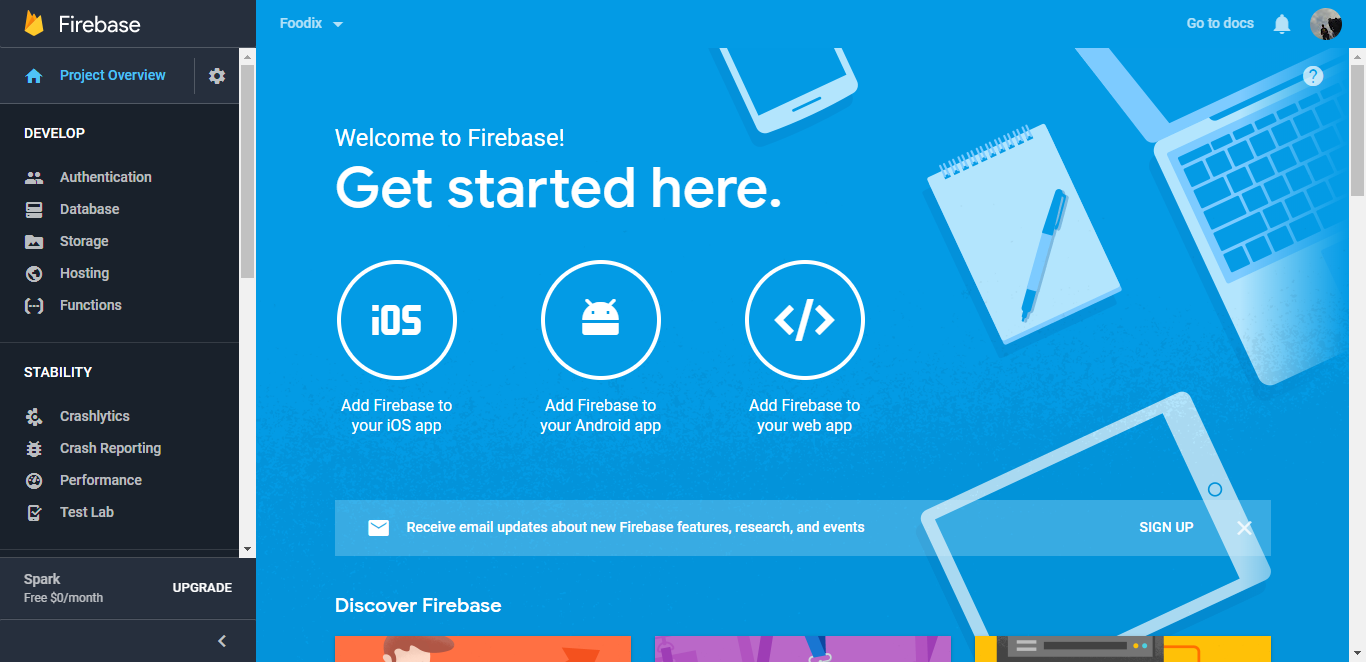
Step 3
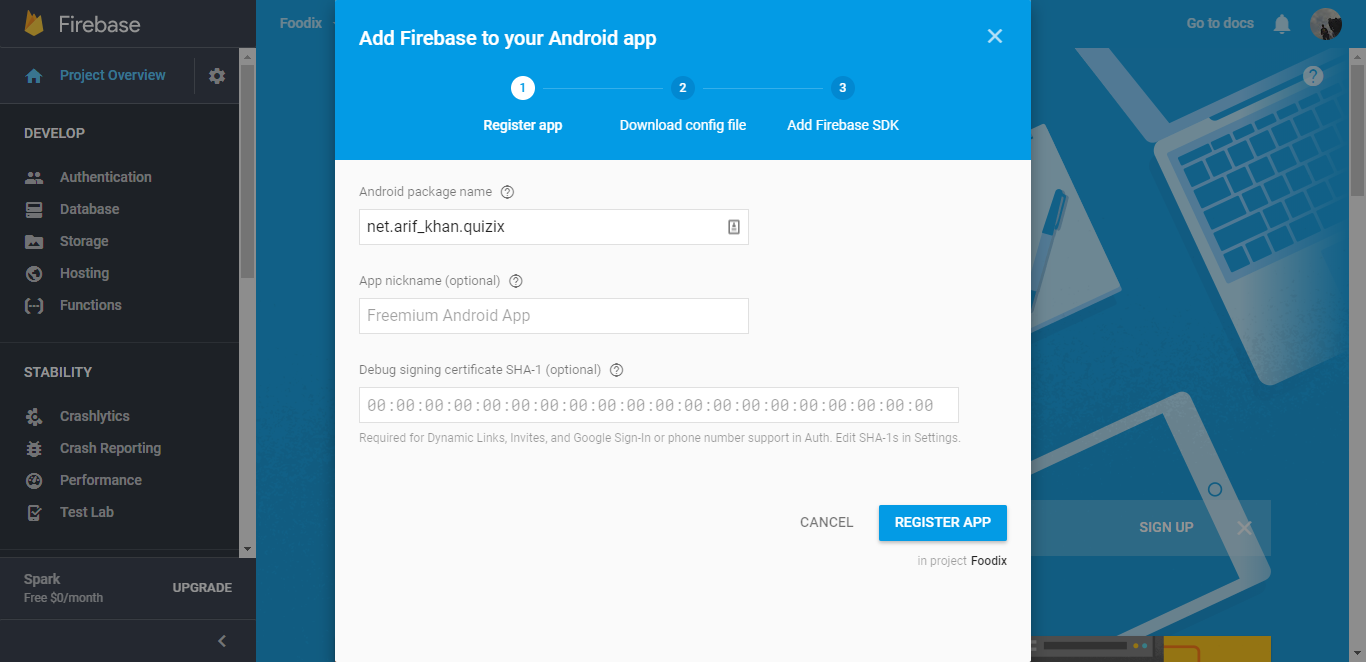
Step 4
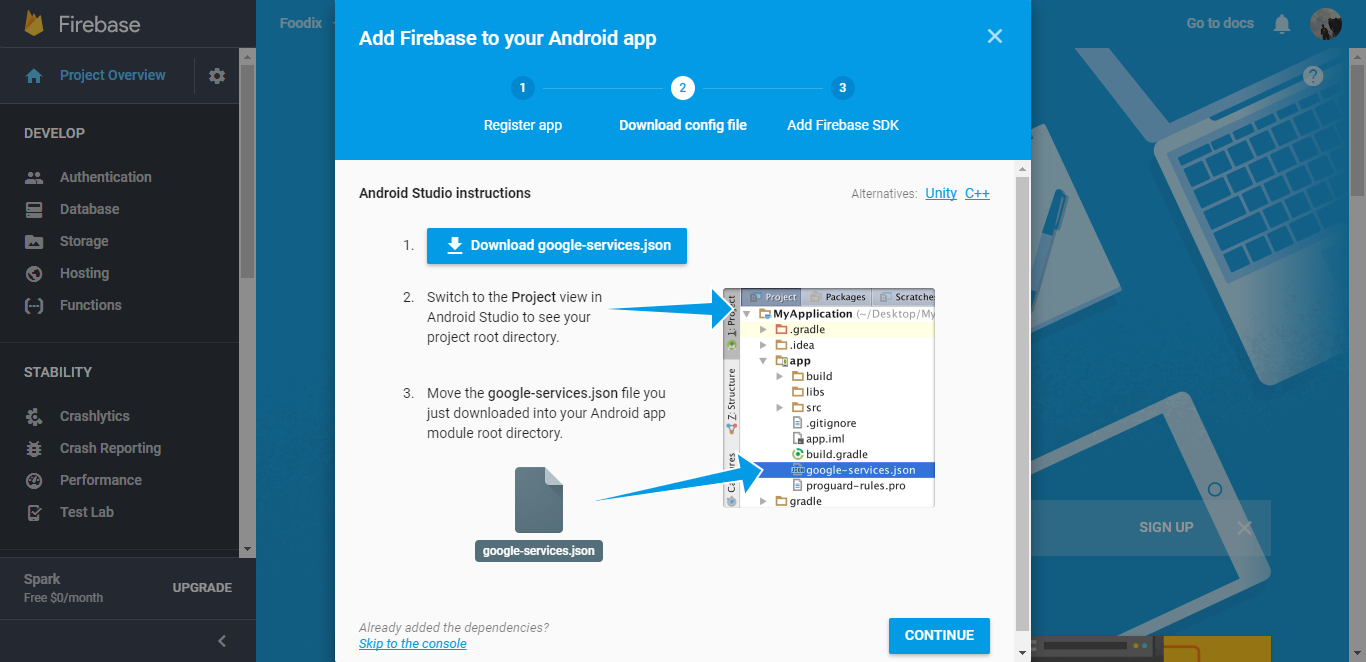
Step 5

Step 6
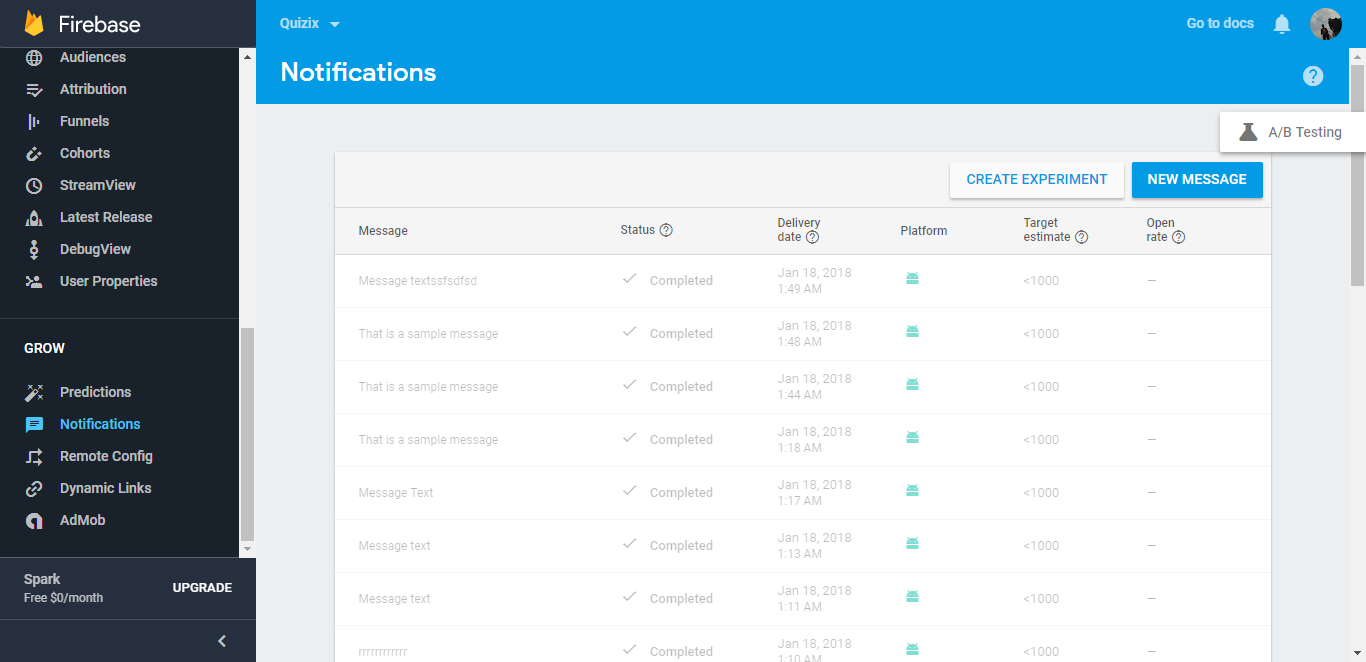
Step 7
Voila
Step 8

Technical Description
Technologies:
Technologies: We built this app with native android programming, java. We used Android Studio 3.5.3. All layout has been designed by android xml.
Java Packages:
- Adapter: All Adapters(Category, Sub-Category, Score & Leader).
- Client: Singleton Retrofit API Client
- Database: Google Room Database related files.
- Firebase: Firebase Push Notification Related files.
- Fragment: App Fragments(Intors, Scores & Leader).
- Model: All Models(Category, Question, Score, Leader & Tutorial).
- Network: Network related Inteface, Callback, Abstarct Class &am; Mock.
- Utils: Utility Files(Singleton Shared Preference, Image Circle Transform, Custom Countdown Timer, Helpers(helper methods), Custom WebView, Utilities & most importantly Config.java setting file).
Layout Designs
Layout implementation is pretty much simple. We have implemented all design by maintaining google material design standard.
String resources:
string.xml file is basically important to configure your ad id's, facebook is's & play store id's. Please modify those before publish up.
Project File Structure
File Include
-
Quizix -All File here
- .gradle
- app
- libs
- src
- androidTest
- main
- java (java packages and classes)
- res (resources and layouts)
- test
- gradle(system folder)
Once again, thank you so much for purchasing this Quizix Full Application.
As I said at the beginning, We'd be glad to help you if you have any questions relating to this game. We I'll do our best to assist.